
P1450 — Unable to bleed up fuel tank vacuum. This is an excessive-vacuum concern. The code is a starting point for diagnosis, not a parts verdict.
Start with the purge-valve sealing check
A purge valve that stays open can keep drawing vacuum from the tank. GoTech’s demonstration checks this first. The code alone does not prove that the valve is bad: a restriction in the vent path or an incorrect pressure reading can require a different diagnosis.
Save the codes and freeze-frame data, identify the year and engine, and check applicable Ford service information. The setup below applies to a normally closed purge valve with a confirmed hose layout; it is not a universal procedure for hybrid or other EVAP designs.
Use ventilation, keep fuel vapor away from ignition sources, and keep clear of hot or moving engine parts. Follow the vehicle procedure for releasing connectors and hoses. Do not use mouth suction or unregulated shop air.
How GoTech checks for a purge valve stuck open
Identify and isolate the valve’s control
With the engine off, identify the purge valve and the hose leading toward the canister or fuel tank. Follow the vehicle procedure to unplug the normally closed valve. Watch · 0:36
 Enlarge illustration 1
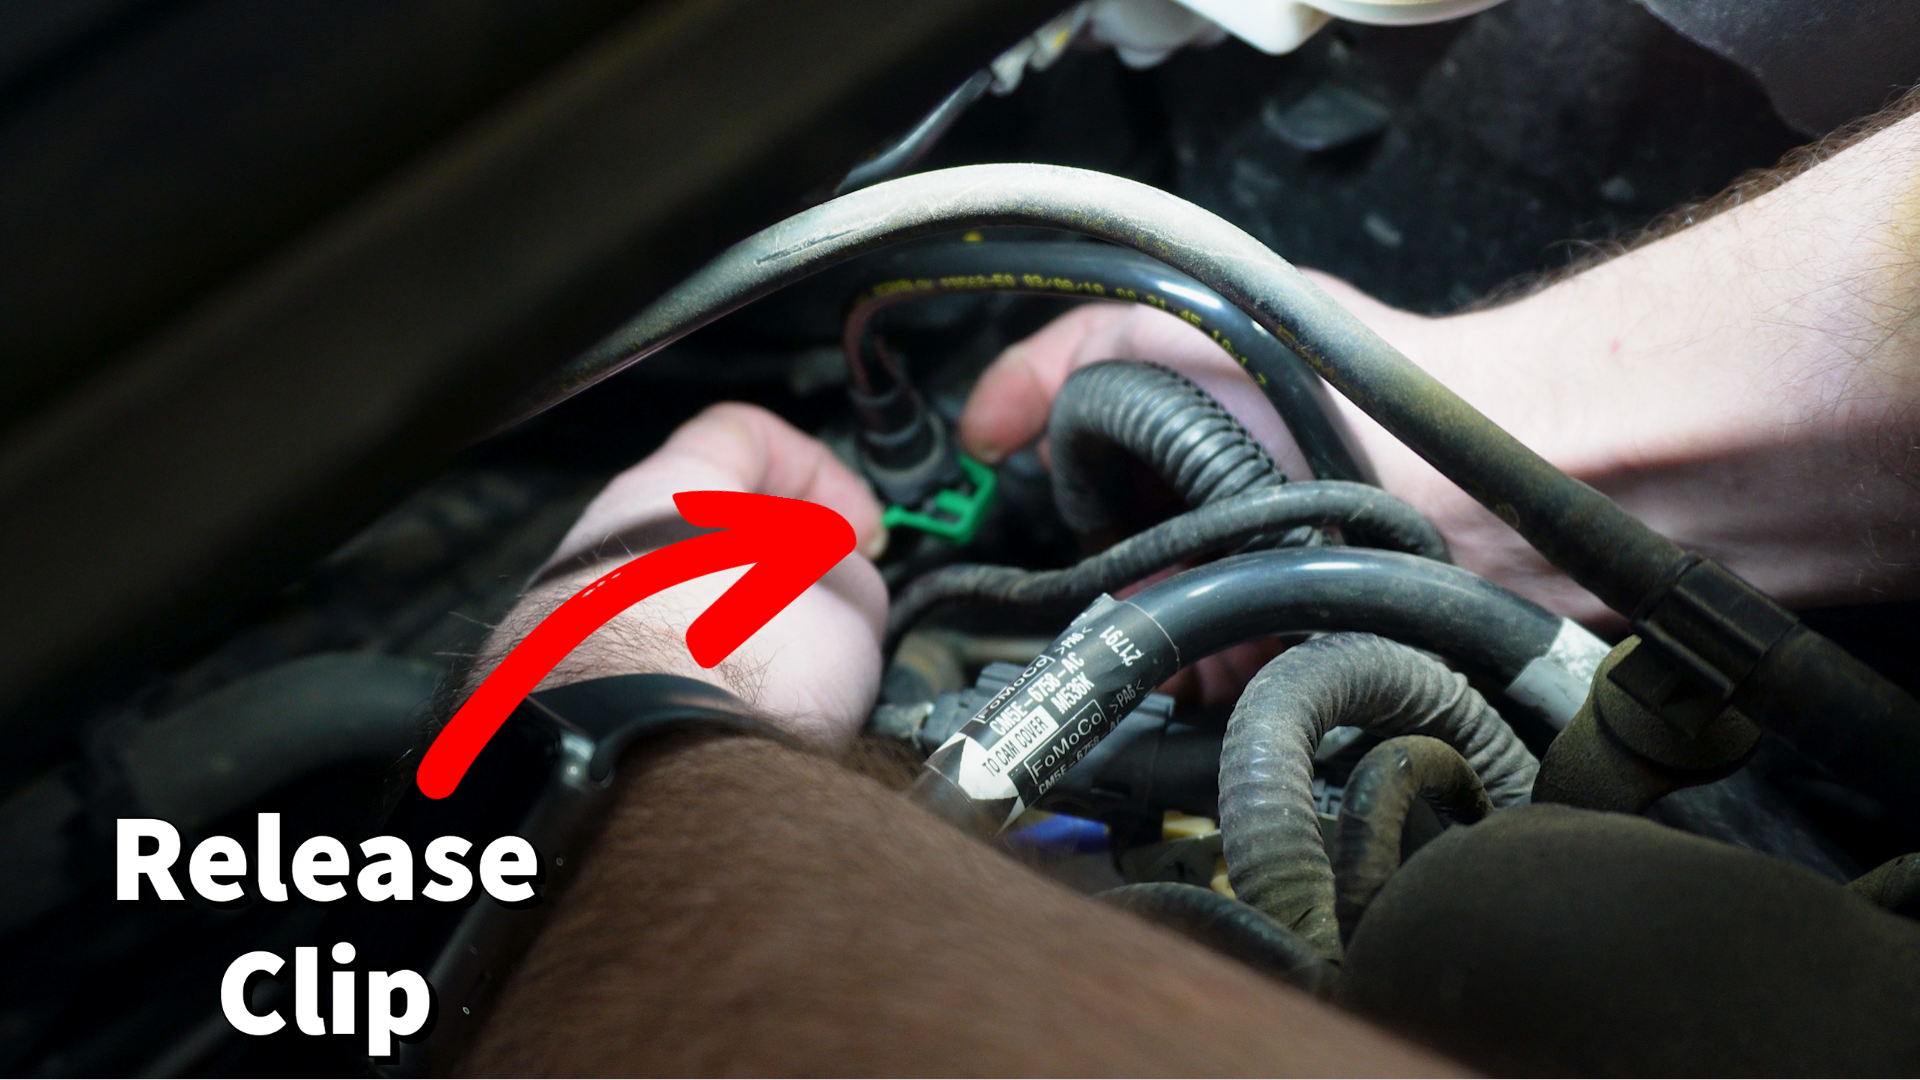
Purge-valve electrical connector in the GoTech demonstration. Confirm the layout for your vehicle. Connect at the canister-side port
The demonstration disconnects the canister-side hose while leaving the intake-vacuum side attached. Use a suitable gauge and adapter to check the valve’s exposed port without damaging its seal. Watch hose identification · 0:59
 Enlarge illustration 2
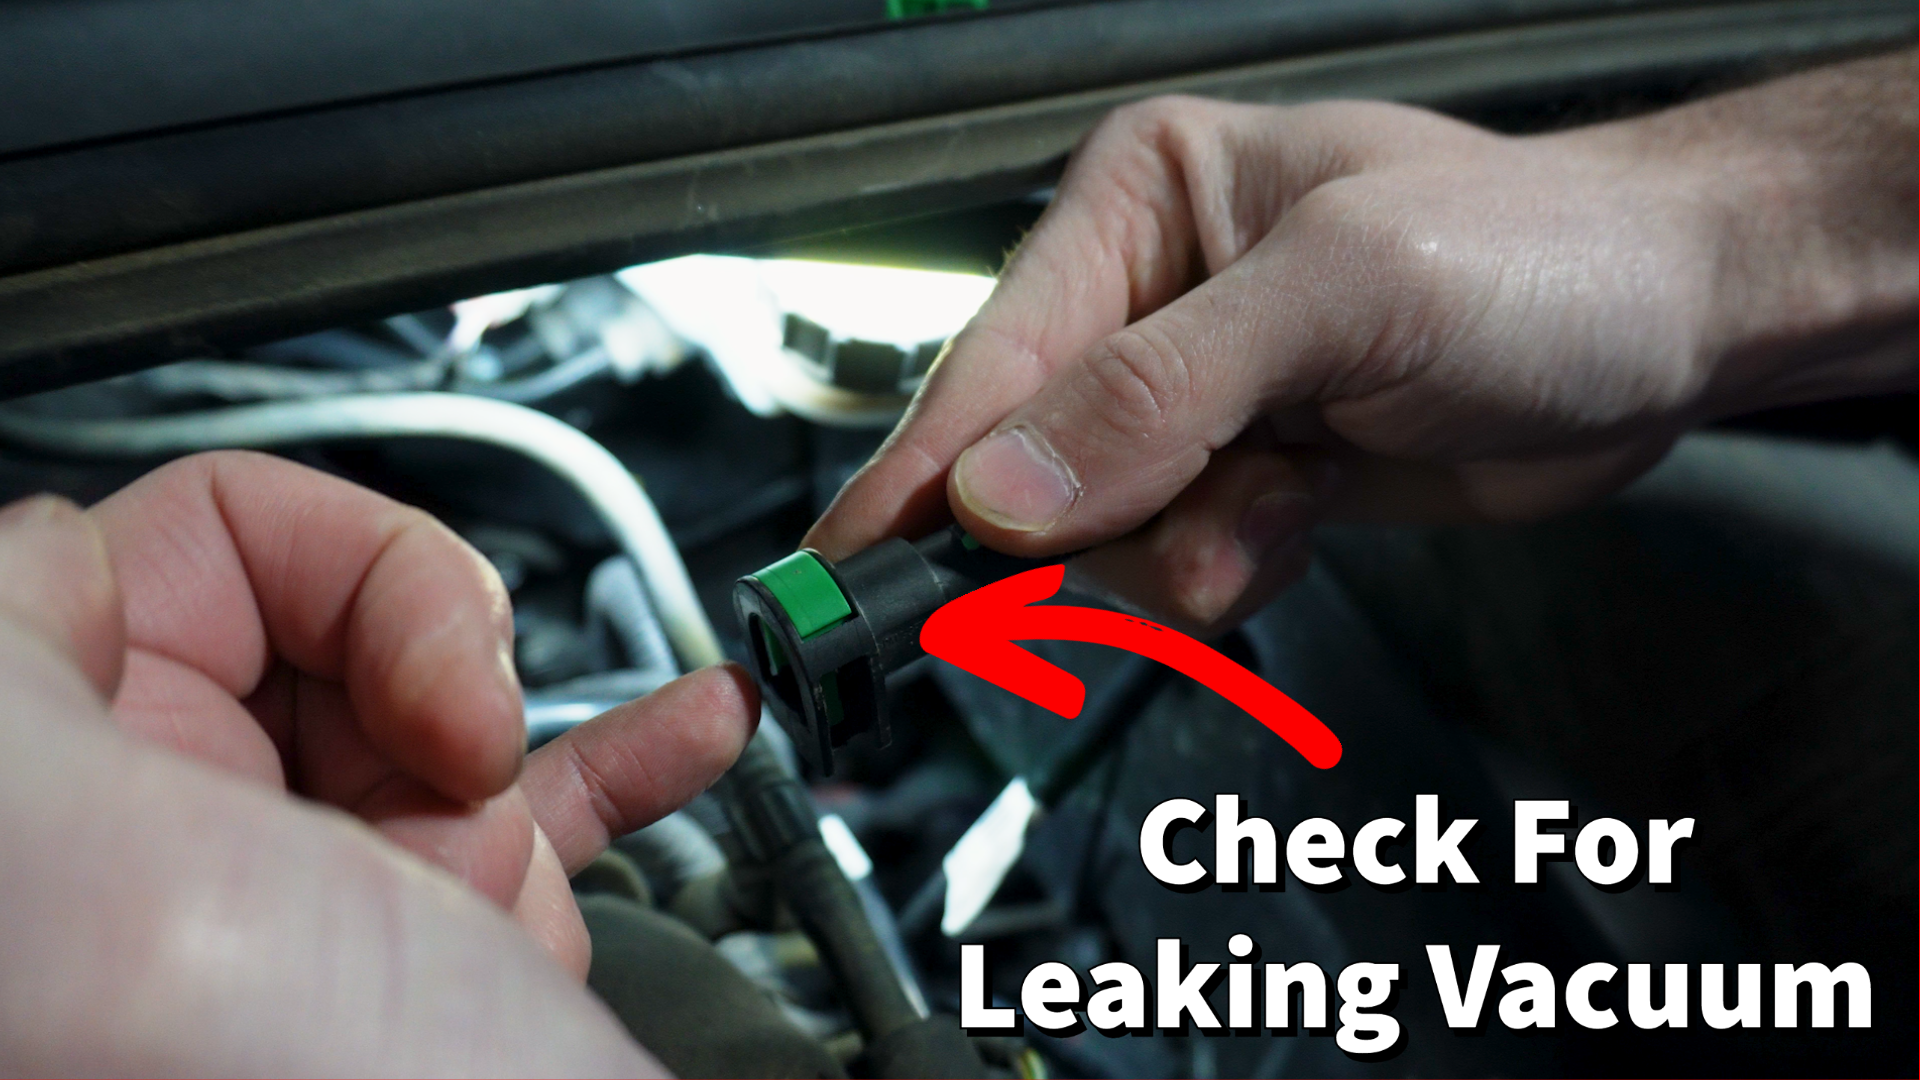
Canister-side hose disconnected from the purge valve. Confirm the layout for your vehicle. Check for unwanted vacuum
In this test configuration, start the engine and observe the gauge. Vacuum passing through an unplugged valve that should be closed supports a sealing fault. Confirm the port, setup and specified seal test before replacing it. Shut the engine off before restoring connections. Watch the check · 1:46
 Enlarge illustration 3
Canister-side port used for the purge sealing check. Confirm the layout for your vehicle.
What if the valve passes—or was already replaced?
- Purge valve fails the seal test: follow the replacement guidance below, then recheck the seal and commanded operation.
- Purge valve seals, but tank vacuum stays excessive: inspect accessible vapor hoses for kinks or damage and follow the vehicle’s vent-path test. A blocked vent path needs a different repair.
- The pressure reading does not match the physical response: compare FTP scan data with the sensor signal.
- A new valve did not solve it: verify its fitment, hose routing and seal, then follow the remaining branch above. Do not treat the replacement as proof the purge path passes.
This routing is GoTech’s synthesis of the demonstration and Ford diagnostic references. Use your application’s test sequence and limits.
Purge valve replacement and repair verification
Once the fault is isolated, match the valve or complete hose assembly by VIN, engine, build date and connector layout. The two designs shown below illustrate why appearance alone is not fitment confirmation.
With the engine off, release the electrical connector, vapor-line connectors and mounting hardware as directed for that application. Install the correct assembly using the specified seals and fastener requirements; fully seat each connection and restore the original hose routing.
 Enlarge illustration 4
 Enlarge illustration 5
Verify the repair: repeat the closed-state sealing check and confirm commanded purge operation. Recheck the original pressure complaint, then complete the prescribed EVAP monitor verification. Clearing P1450 alone does not prove the repair.
Watch the original demonstration
Video loads only when you choose to play.
Sources and vehicle-specific limits
GoTech editorial guidance with AI assistance, based on the original demonstrations and public references below. The test sequence and result routing are our synthesis. Vehicle information supplies connector details, control methods and pass/fail limits; these pages do not claim independent testing on every application.
- Original GoTech Ford P1450 demonstration and 2022 article: purge-valve check and assembly illustrations. A gauge-based reading is an editorial adaptation supported by the EVAP training demonstration.
- GoTech EVAP training · 83:40: normally closed purge valve and vacuum-gauge response.
- Ford 1999 PCED, HX18–22: checks for restricted hoses and vent paths. This supports the alternative diagnostic branch, not the test settings for a later vehicle.
- Ford 2020–2023 gasoline OBD summary: excessive-vacuum monitor and P1450 definition. Its calibrations are not universal service limits.