
Confirm the fault before replacing the IWE
The IWE connects the front hub to the axle on this 4WD system. It is separate from the hub bearing. Intermittent grinding in 2WD can involve vacuum supply or worn IWE components.
IWE replacement already confirmed? Go to the removal steps →
Ford diagnostic routes: part-time 4WD versus 4A / TOD
2013–2014 F-150 with ESOF part-time 4WD: Ford TSB 20-2278 covers intermittent grinding in 2WD. Its diagnostic sequence distinguishes vacuum leaks and worn components; follow the complete applicable procedure.
Torque-on-demand (TOD), including applicable 4A-equipped trucks: Ford TSB 20-2307 describes a different repair for certain 2006–2020 non-Raptor F-150s. Confirm the transfer case and current bulletin applicability before following it.
2011–2012 part-time 4WD: the ESOF bulletin above does not cover these years. Use the applicable Ford vacuum/IWE diagnostic procedure.
These are published 2020 bulletins, not a confirmation of the latest revision for your VIN. Don’t apply a vacuum-line modification to every truck with a noise.
The steps below are the mechanical demonstration. Confirm the truck’s fasteners, replacement hardware and specifications; do not transfer this video’s joint or brake torque values to the separate 2011–2014 hub job.
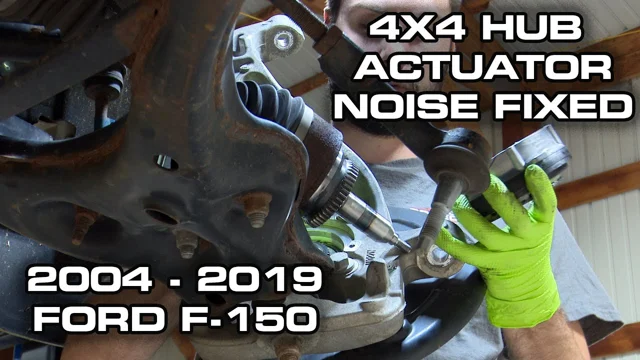
Video loads only when you choose to play.
Steps to Replace F-150 4WD Vacuum Actuated Hub
Disconnect ABS connector from under the hood ↗ 1:57
Raise vehicle safely and secure it ↗ 1:50
Remove lug nuts and remove wheel
Remove ABS sensor harness from the hold-downs (but do not remove the sensor from the knuckle) ↗ 2:25
Remove the brake hose-to-strut bolt ↗ 3:01
Remove and discard the tie rod end nut ↗ 3:28
Remove brake caliper and bracket assembly from knuckle. Discard the old caliper bracket bolts ↗ 4:11
Remove brake rotor ↗ 4:55
Disassemble the IWE / Hub Area
Remove vacuum hoses from 4WD actuator (IWE) ↗ 5:03
Remove axle shaft nut cap and nut ↗ 7:25
Remove upper ball joint nut and discard it ↗ 8:33
Unbolt and remove the 4x4 vacuum hub actuator (IWE) ↗ 9:27
Clean the wheel hub/bearing assembly ↗ 11:05
Grease mating surfaces ↗ 12:06
Install the New IWE / Reassemble
Install the 4x4 vacuum hub actuator to the knuckle, making sure it’s fully engaged with the axle splines. Tighten the 3 mounting bolts snugly ↗ 13:01
Line up and push the axle shaft through the actuator and hub assembly ↗ 15:23
Install a new upper control arm nut and torque to 45 ft-lb ↗ 17:52
Install the axle shaft nut and torque to 30 ft-lb ↗ 18:54
Install the axle shaft nut cap ↗ 19:32
Install the brake rotor ↗ 19:43
Install the brake caliper and bracket assembly using NEW caliper bracket bolts and torque those bolts to 186 ft-lb ↗ 20:05
Secure the ABS harness and the brake hose bracket back into place ↗ 21:37
Install the tie rod end with a NEW nut and torque that nut to 85 ft-lb ↗ 22:17
Install the wheel. Torque lug nuts to spec in the owner’s manual.
Reconnect the ABS harness under the hood.
Test drive and verify proper 4x4 engagement / no grinding.
Verify the IWE repair
Check disturbed fasteners, brake components, vacuum hoses and ABS wiring; restore a firm brake pedal before moving. Follow the applicable Ford procedure to verify 4WD engagement and disengagement, then recheck the original noise in safe conditions.
Grinding remains? Recheck vacuum supply and spline engagement before ordering another part. Return to the system-specific route →
Hum or growl remains? Return to bearing diagnosis →
Source and limits
Original GoTech article, 2022-06-07. Illustrations retain their source descriptions; their technical meaning has not been independently reviewed. Videos and articles remain separate evidence.
Existing tool links may earn GoTech a commission. Commercial descriptions remain attributed to the original article.
Article provenance
Source mdx-2bef2cf2b6c6aef96f25
SHA-256 a113253944433ce199d77410c3124d899a783ded40f644712502beea893965f4