

Before you start
Have these ready: a 7 mm socket and ratchet, a plastic trim tool, and a small pick if needed to release the damper clip. A flashlight helps you see the filter-door tabs.
Existing tool links
Use what you already own. These affiliate links are optional: socket wrench set · mini hook & pick set. Use a plastic trim tool on the visible trim to avoid marring it.
Need the replacement? Check the Motorcraft FP92 option →
Watch GoTech’s replacement video
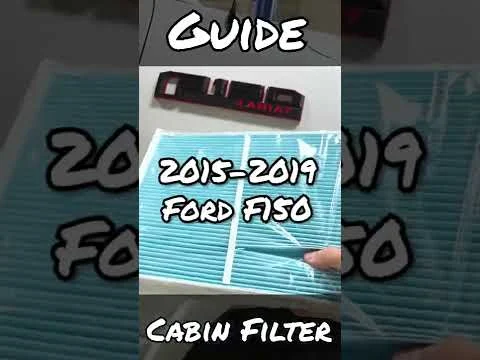
Video loads only when you choose to play.
Open the filter housing
Park the truck and switch the ignition and blower off. Empty the glove box and keep the two panel fasteners together as you work.
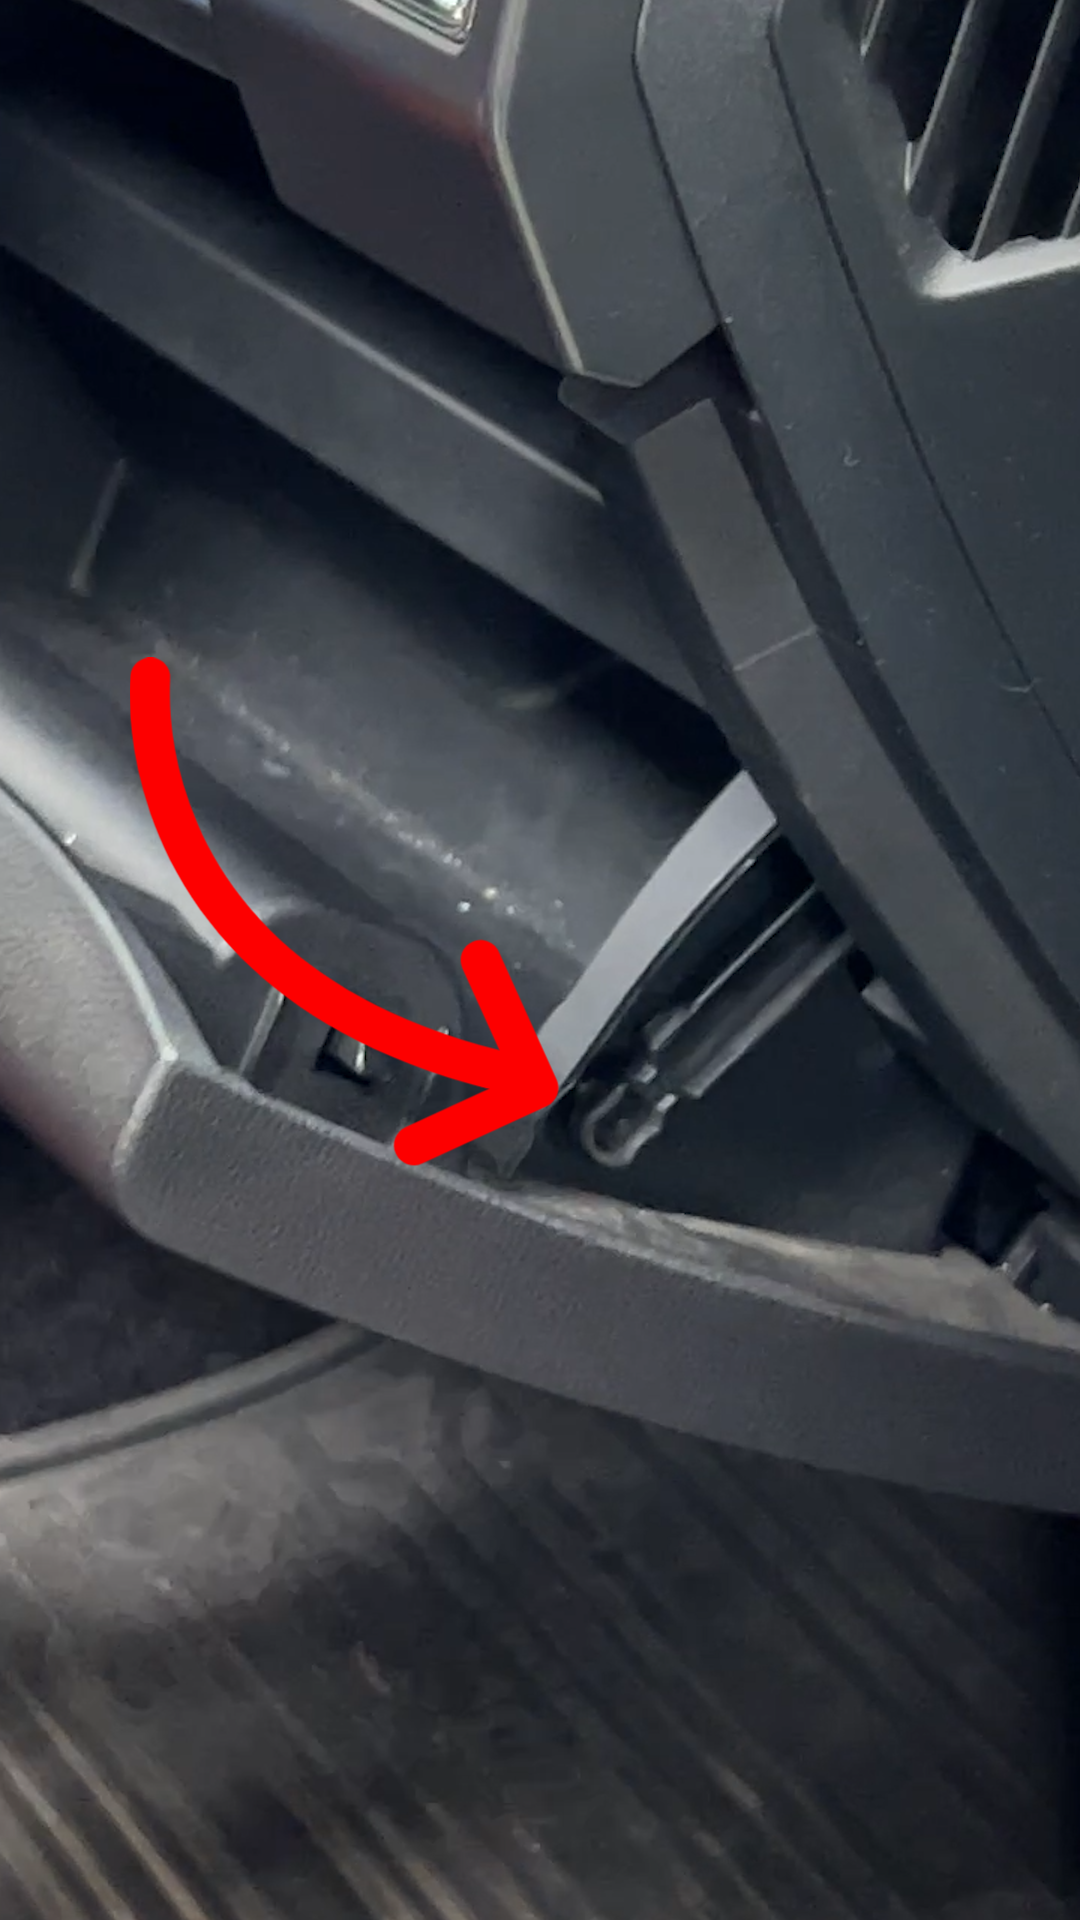
1. Lower the glove box
Support the glove box, release its damper arm, then press the sides inward to clear the stops and lower it. Keep hold of the damper and its clip.
 Enlarge photo
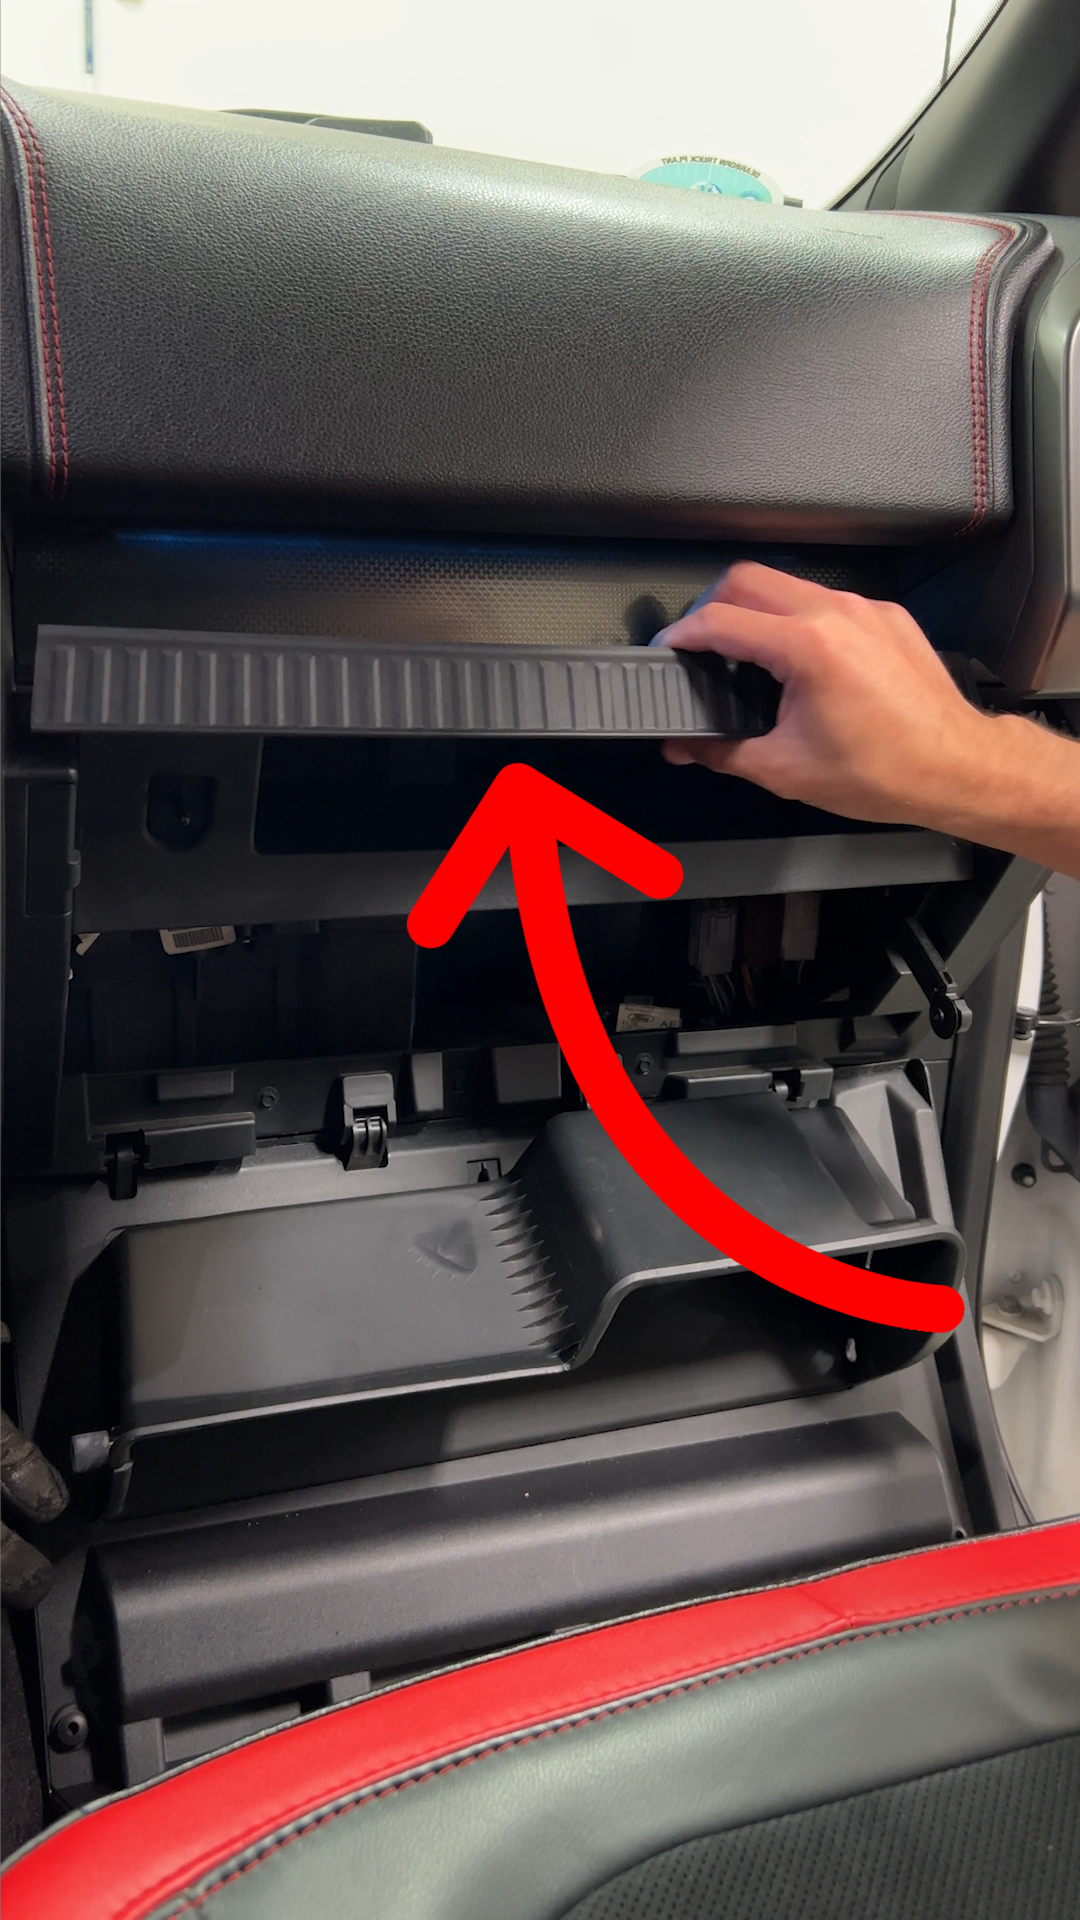
2. Lift out the rubber trim pad
Remove the rubber pad above the glove box to expose the trim-panel edge.
 Enlarge photo
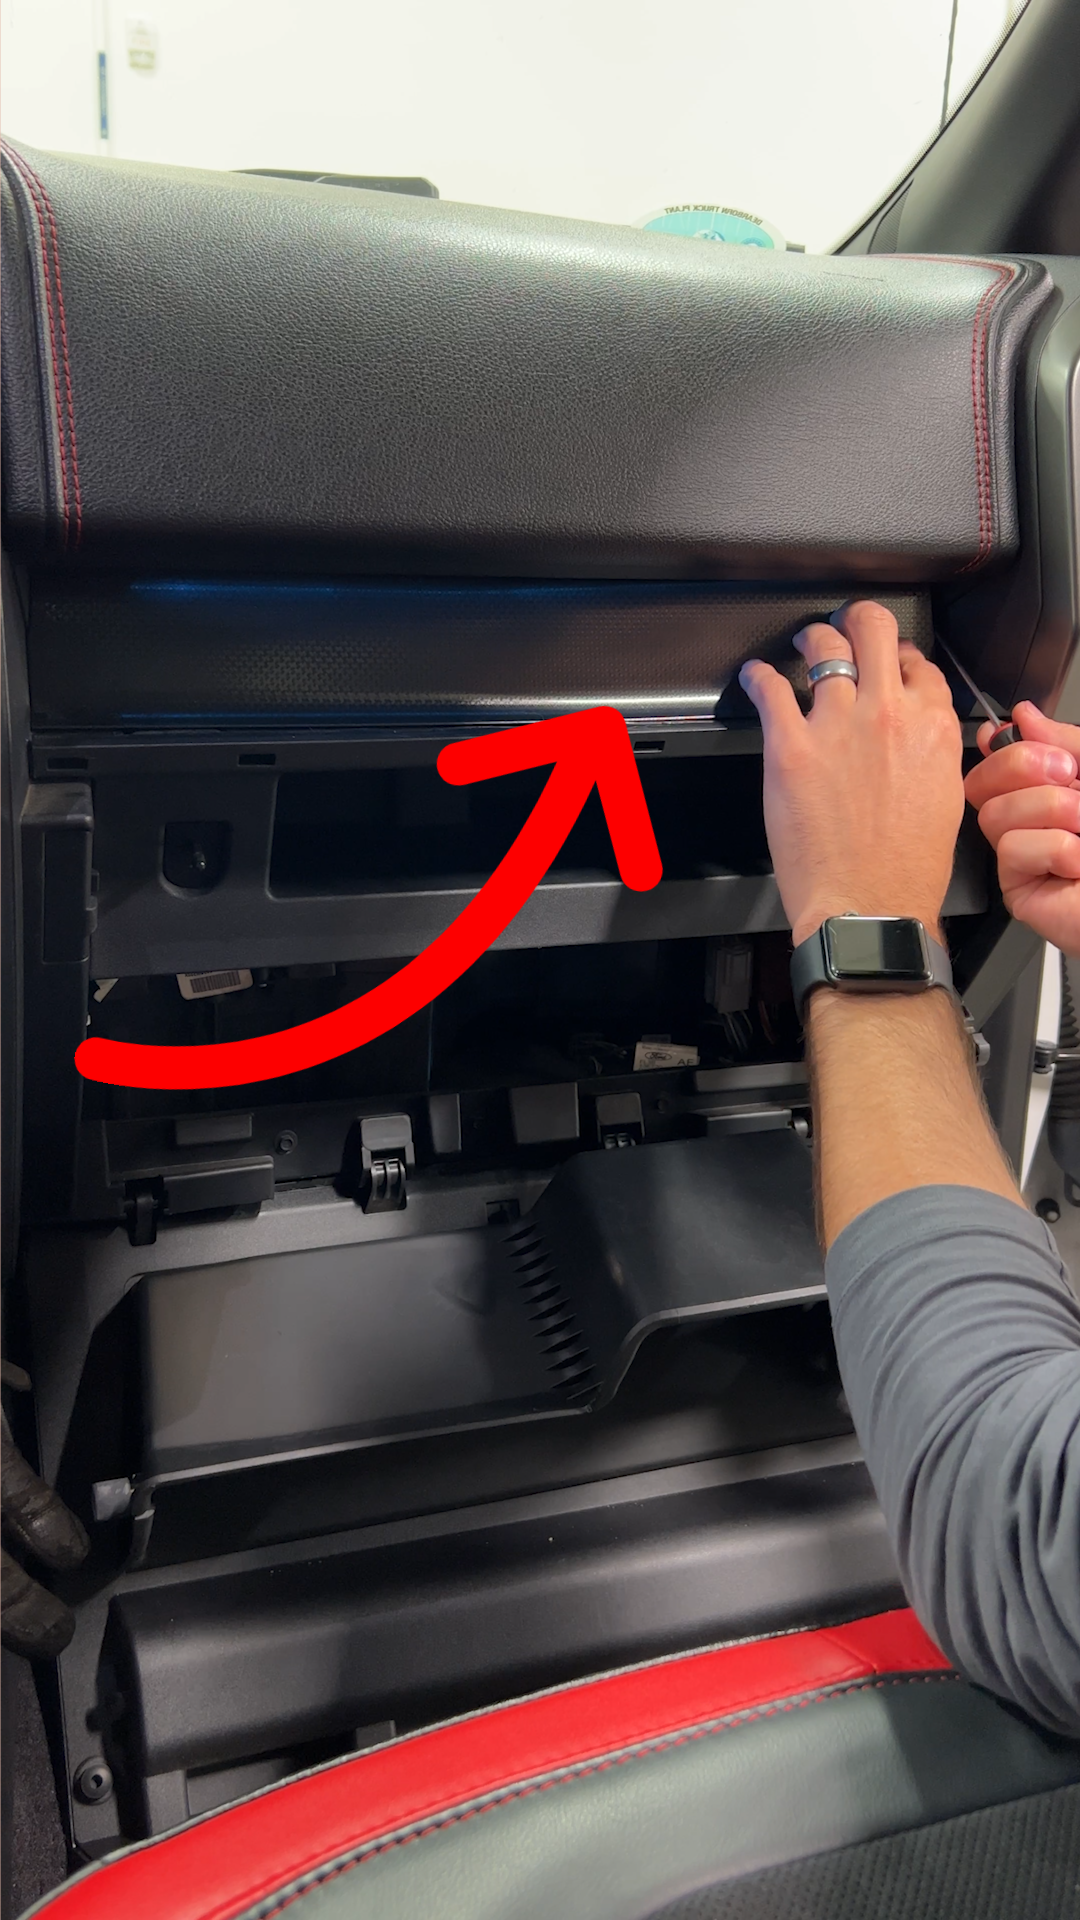
3. Release the decorative trim
Use a plastic trim tool to gently release the retaining clips. Work along the panel rather than bending one end outward.
 Enlarge photo
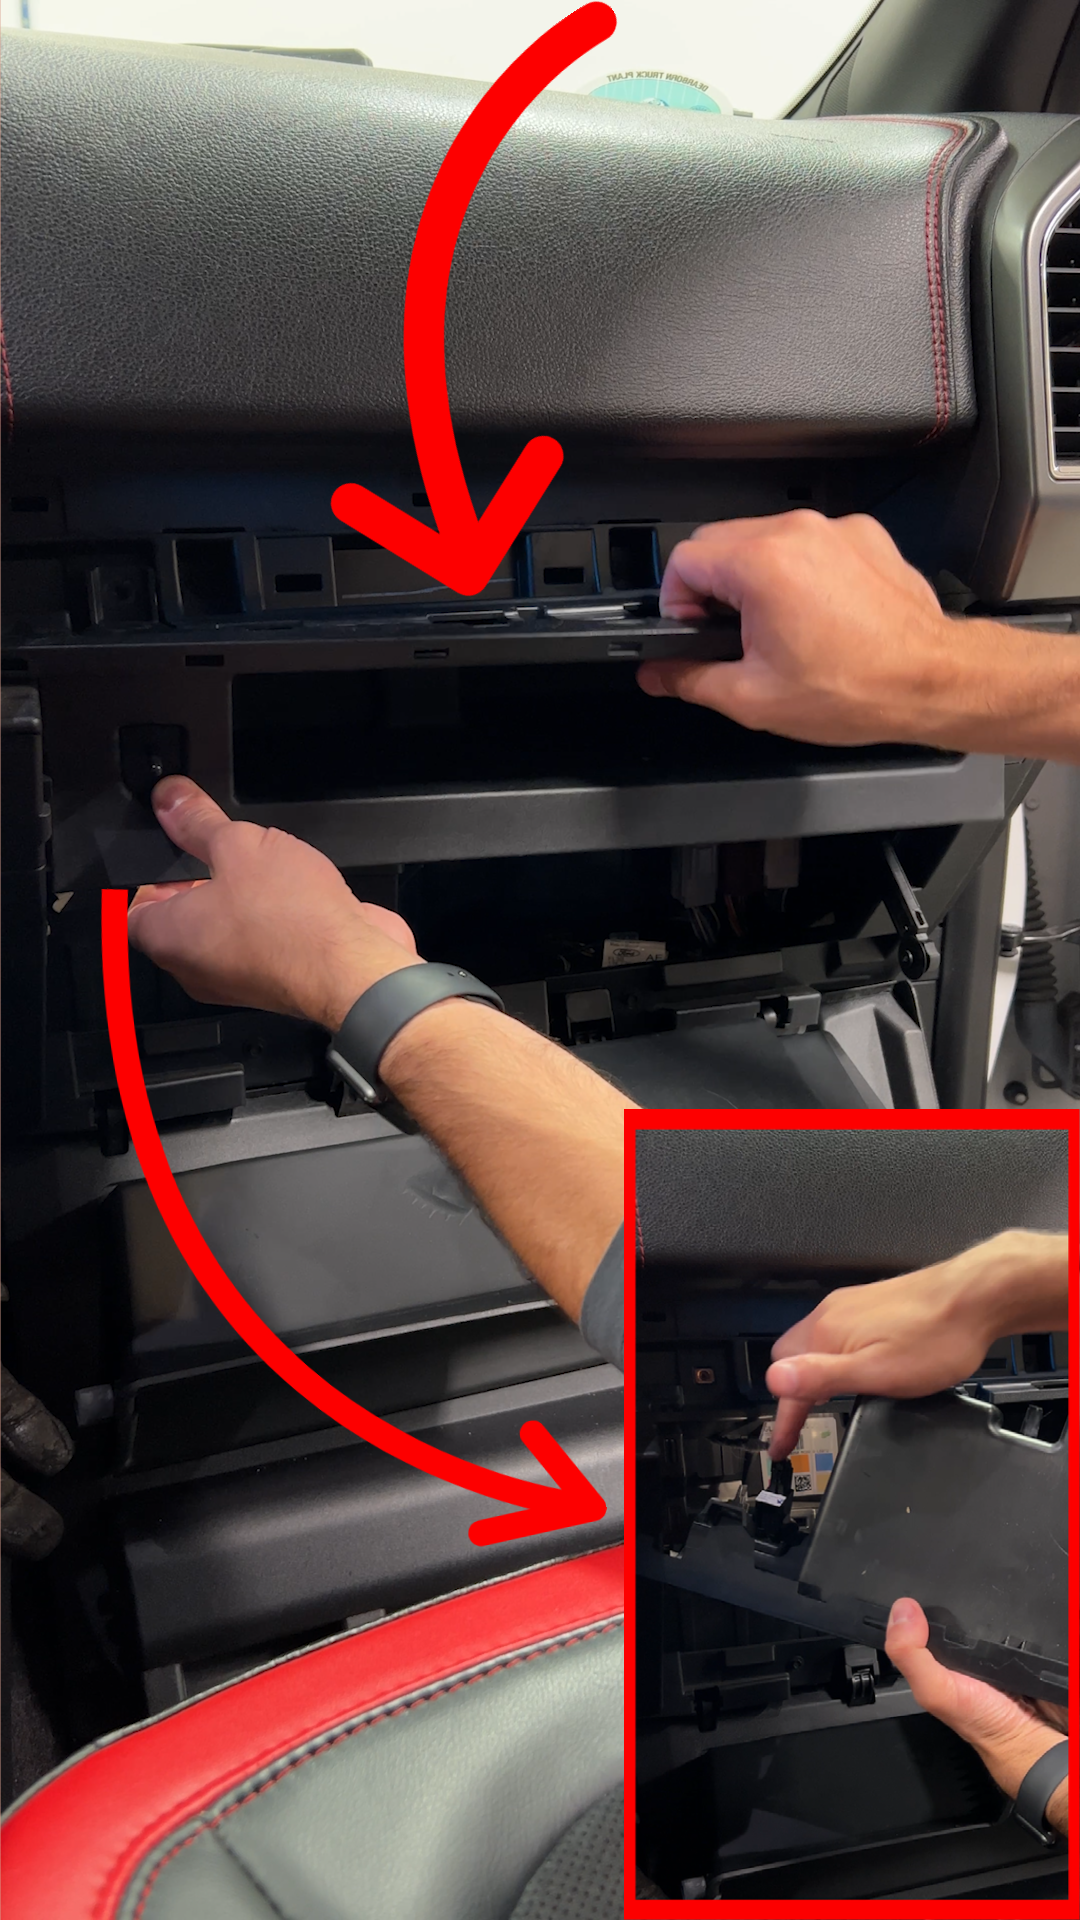
4. Remove the two panel fasteners
Use a 7 mm socket to remove the two fasteners exposed behind the trim. Pull the upper panel outward to release its clips and move it aside.
 Enlarge photo
5. Protect the switch wiring
Keep the panel supported: do not pull or hang it by the glove-box ajar-switch wiring. If you disconnect the switch connector for clearance, release its latch and pull on the connector body.
 Enlarge photo
6. Open the door and slide out the old filter
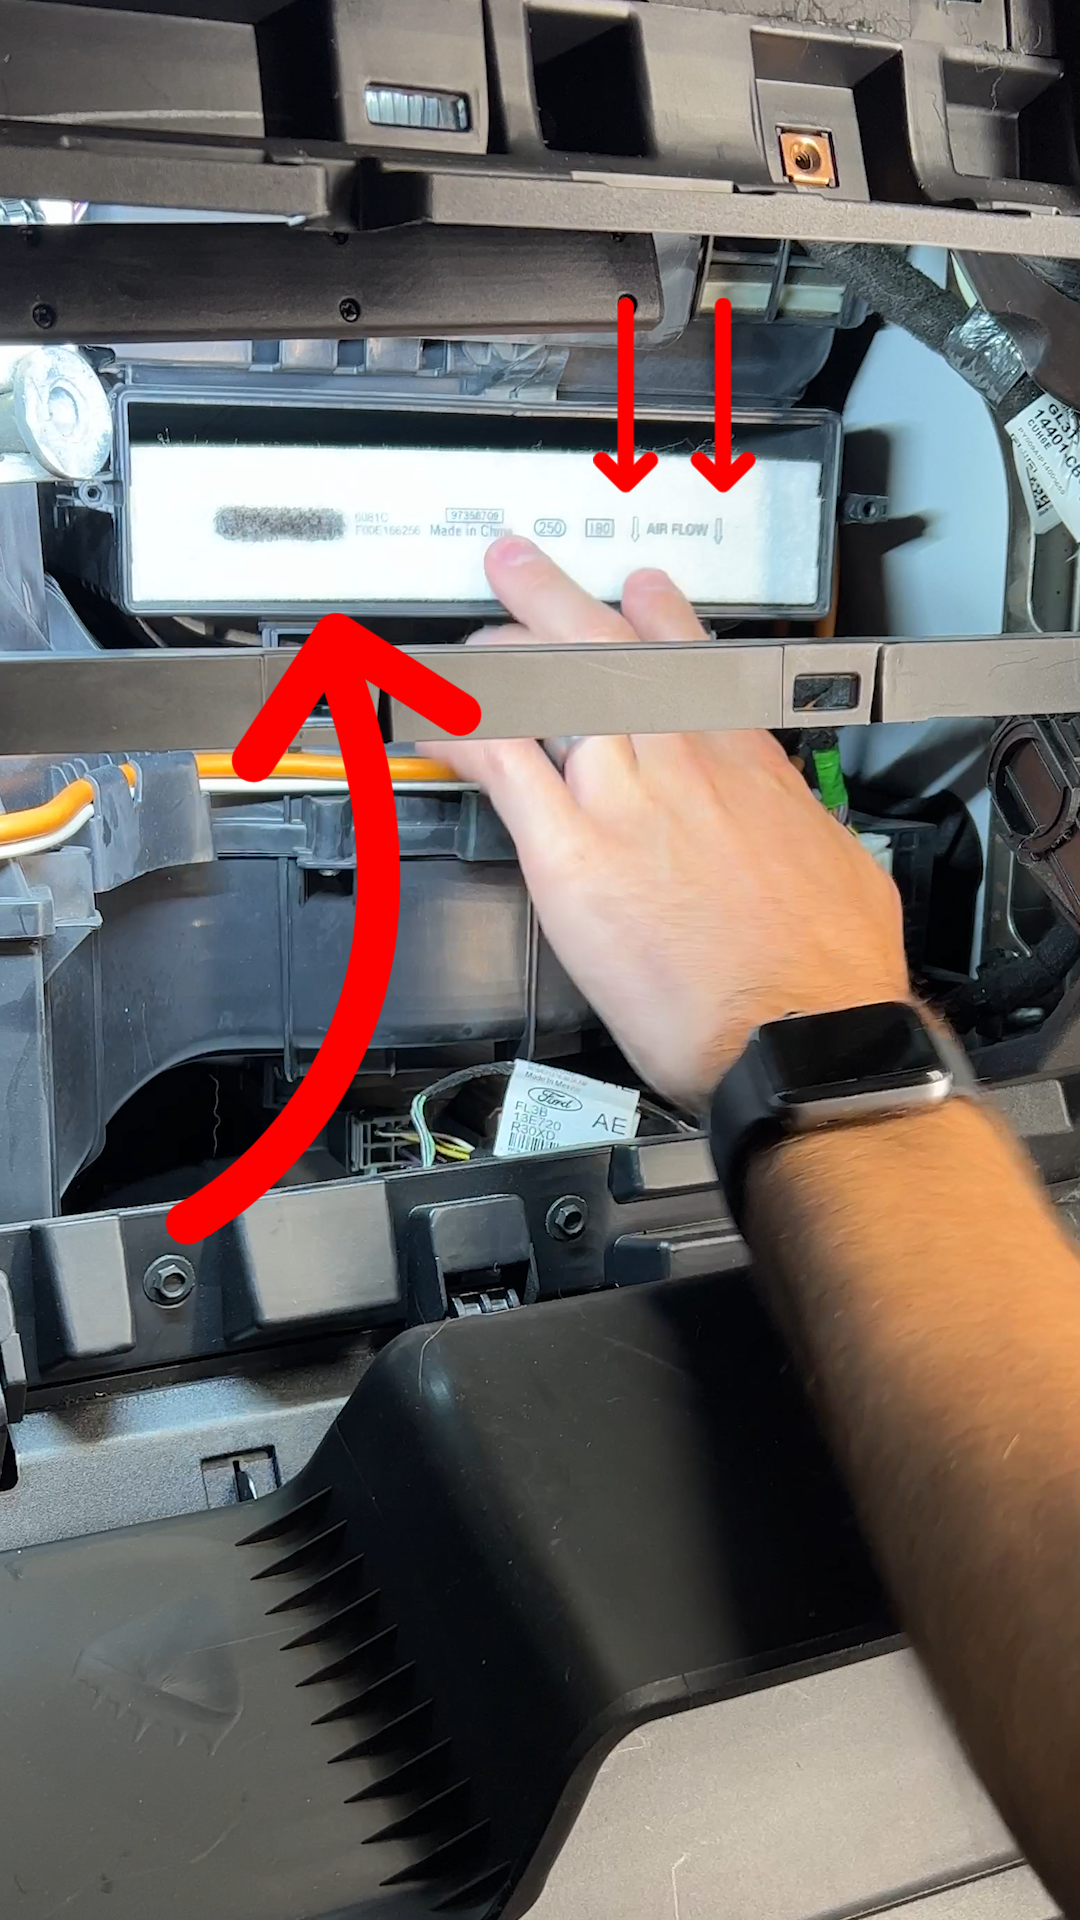
Release the filter-door tabs and remove the cover shown in the location photo. Slide the old filter out carefully so loose leaves and dirt stay out of the housing. Remove accessible debris before fitting the new one.
7. Install with AIR FLOW arrows down
On this F-150 setup, an arrow labeled AIR FLOW points down, as shown in the GoTech photo. Slide the new filter fully into the housing without folding the frame or leaving a gap at the edge.
Read the arrow’s label. An UP arrow means “this side up”; it is not an airflow arrow. Follow the markings and instructions supplied with your replacement filter.
 Enlarge photo
8. Close up and check airflow
- Latch the filter cover. Make sure all tabs engage and the cover sits flush.
- Refit the upper panel. Reconnect the glove-box switch if disconnected, keep its wiring clear, align the clips, and reinstall the two panel fasteners.
- Replace the trim and rubber pad. Re-engage the glove-box stops and damper. Open and close the glove box to confirm it moves normally and latches.
- Run the blower through its speeds. Check airflow at the vents and listen for new rattles or whistling. Record the date and mileage of the filter change.
Airflow is still weak, or there is a new noise
Recheck the filter’s fit, the cover tabs and any debris disturbed during the job. If airflow remains weak with the filter correctly fitted, continue HVAC diagnosis; another filter is not a confirmed fix. Strong airflow that stays warm is a separate cooling complaint.
If the blower works only on high, use GoTech’s blower-speed diagnosis to understand that symptom. Match the test procedure to your truck.
When should I replace it again?
The 2020 F-150 owner manual lists cabin-filter replacement every 20,000 miles (32,000 km) under normal maintenance. Use your model year’s schedule and inspect sooner when dust or operating conditions warrant it. Find your Ford owner manual →
Choose the Motorcraft replacement
Our Motorcraft choice
Motorcraft FP92 cabin air filter
Also written FP-92 · Ford KL3Z-19N619-AA
Ford lists FP92 for the 2015–2020 F-150. Confirm your truck in Ford’s catalog, then match the part number when ordering.
As an Amazon Associate I earn from qualifying purchases.
Sources and application notes
Access steps, seven photographs, the 7 mm fasteners and downward airflow direction come from GoTech’s original August 2022 guide. Its glove-box wiring caution is restored here. The original video remains available above.
Ford’s FP92 catalog record confirms the Motorcraft/Ford part numbers and lists F-150 2015–2027 and F-150/Lobo 2015–2020 under “Fits These Vehicles.” This page keeps its demonstrated 2015–2020 procedure scope. Individual-truck fit is checked in Ford’s selector.
FRAM’s CF12150 installation instructions corroborate the glove-box stops, damper, electrical connector and reassembly sequence. Its generic screwdriver tool note differs from GoTech’s photographed 7 mm fasteners; use the tool that fits the fasteners shown on your truck.
FRAM’s arrow-marking guidance explains AIR FLOW versus UP labels. The symptom routes and final checks are GoTech editorial guidance; the normal-maintenance interval comes specifically from Ford’s 2020 manual.
Motorcraft is our catalog-based recommendation, not a confirmed brand used in the demonstration. Catalog and Amazon product identity checked October 28, 2026; no seller, stock, price or VIN-specific fitment is claimed.
GoTech photo guide & video · 2015–2020 F-150