
Before you take it apart
- Know why it is coming off.
GoTech traced the leak to a hose connection behind the turbo. The owner wanted the turbo inspected before buying another one. A P0299 code, a coolant leak and a damaged turbo are different findings; this video does not diagnose every low-boost complaint.
- Lay out more than the turbo.
The job opens coolant, oil, intake and exhaust connections. GoTech prepares hoses, feed/return connections, seals, gaskets, fasteners and a converter clamp. Check the parts list for your VIN and replacement assembly; a new turbo may not arrive with everything attached.
- Plan the access and the specifications.
The demonstration uses a lift and works above and below the engine. Have safe lifting equipment, a cold cooling/exhaust system, fluid collection, clean port protection and the correct service procedure ready. Confirm tightening values, fluid specifications and turbo preparation instructions for your parts before starting.
Removal: keep track of what opens up
This is a work map for the filmed repair. Use the linked moments for the handling details and your vehicle’s service information for the complete procedure.
- Clear the upper connections.
GoTech moves the air tubing, bypass plumbing and electrical connections out of the way. Old plastic and rubber are easy to damage. The coolant was drained before filming this stage; residual coolant can still escape when a lower connection opens.
- Protect the oil passages as soon as they open.
The upper oil feed is disconnected and the opening protected. Keep dirt and broken plastic out of the engine and turbo. The original leaking coolant hose is identified where rubber meets its metal fitting.
- Make room below.
The oxygen-sensor connection, converter clamp, lower exhaust fasteners and support brackets are dealt with before the converter comes down. Support the converter as it releases. This exposes the turbo oil-drain fasteners.
- Release the remaining lines, then the manifold assembly.
The block-side coolant connection is awkward and its tube can twist. The video explains the holding-tool purpose. Follow the proper tool/procedure rather than forcing a tube that starts to bend. With the connections released, the turbo/manifold assembly comes off.
What changed the repair decision?
Once the converter is out of the way, GoTech points out a crack at the wastegate area and decides to replace the turbo. At that point, the presenter repeats that the car does not have an underboost code.
That is the decision in this case. It is not proof that every visible casting crack causes a boost fault, or that every P0299 needs a turbo. A different complaint still needs its own tests and the applicable inspection criteria.
▶ The inspection and decision 14:43Installation: catch these before the next part goes on
- Do the accessible bench work first.
Compare the old and new assembly. GoTech installs the coolant fittings and checks that their seals are present before connecting the tubes. Put each tube in the correct position. The host notes that earlier assemblies can look different; appearance alone is not a fitment check.
- Keep the plastic oil drain intact—and the opening clean.
The old drain breaks during removal in part two. The remaining piece has to be recovered before installing the replacement. Do not push debris into the engine or force a new tube over a broken piece.
- Catch the bracket before tightening the manifold.
At 14:31 in part two, the presenters realize their bracket is still on the toolbox after the manifold nuts have been started. Check the bracket placement before tightening everything down. Also account for the heat-shield studs and the heat shield itself; the shield is absent during the filmed work.
- Route, seat and support the connections.
Prevent the block-side coolant tube from twisting as its fitting tightens. Check the converter clamp’s position, reconnect the sensor and bypass controls, fully seat the charge-air hose, and inspect the intake boot for damage. Finish the support brackets and fasteners to the correct procedure.
Installed is not the same as finished
- Fill and inspect using the correct procedure.
GoTech services the oil and fills the cooling system with a vacuum-fill tool. Holding vacuum is a useful check under those conditions; it does not prove that no leak can appear hot, under pressure or during use. Follow your vehicle’s fill/bleed procedure and the turbo supplier’s instructions.
- Start with a clean, dry inspection area.
Spilled coolant or oil makes a new leak harder to identify. The video cleans up before starting, then checks the opened systems. Confirm the heat shield and all remaining reassembly are complete before return to service.
- Recheck the original complaint and the work you disturbed.
At the end, GoTech reports a test drive, satisfactory boost and no leaks. The full test drive and its scan data are not shown. For your repair, record the coolant-leak recheck and the appropriate running/boost checks instead of treating a successful start as the finish line.
Questions before you commit
Does P0299 mean I need a new turbo?
This repair does not establish that. GoTech explicitly says this Cruze had no underboost symptoms when the job started. Diagnose the actual boost complaint before using this removal guide.
Are all Cruze 1.4L turbo assemblies the same?
Do not order from the engine size alone. Match the VIN, assembly and supplied fittings. The installer mentions design differences on older cars. This guide does not provide a verified all-years interchange list.
Where are the torque specifications?
They are not reproduced here. The videos contain spoken values, but this guide has not independently verified them against the exact vehicle and replacement parts. Have the correct service specifications beside the guide.
Still finding the fault?
Watch the original GoTech videos
Every timestamp above plays here. Use “Back to where you were” to return to the check you were reading.
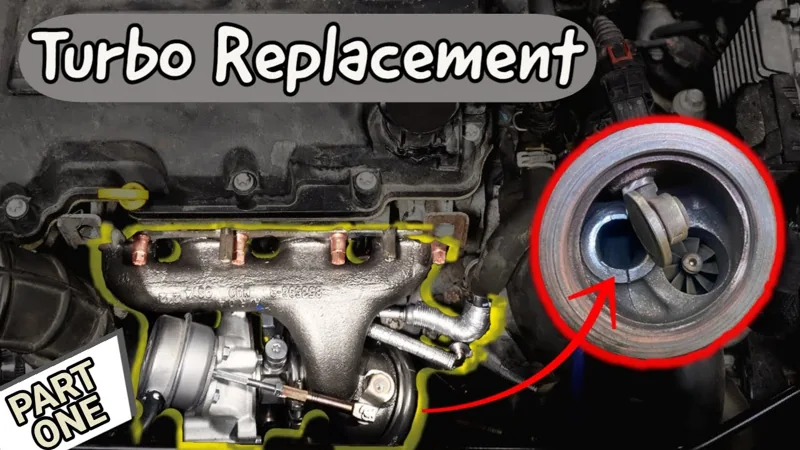
Video loads only when you choose to play.
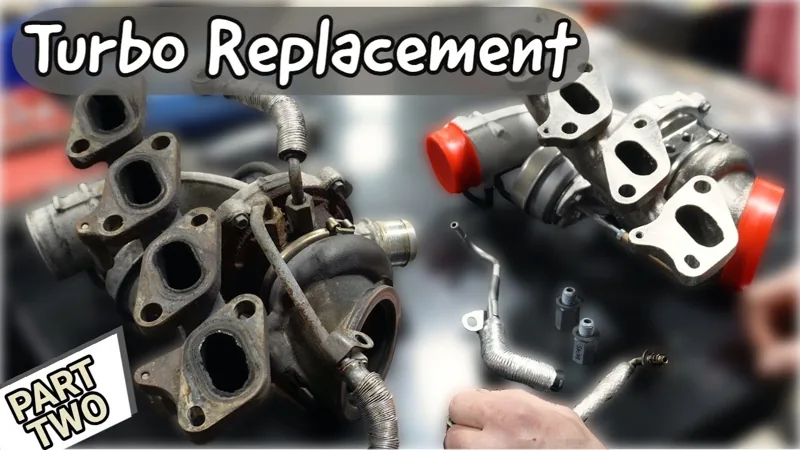
Video loads only when you choose to play.
What this guide covers
Removal and installation reference for the demonstrated Cruze. Not a complete P0299 diagnostic procedure, fitment catalog or verified tightening-specification sheet.
Written by GoTech from the original videos. The linked source moments let you check the explanation against the demonstration.