
Where is the knock sensor?
On the 2006–2011 Rio / Accent 1.6L shown here, the knock sensor bolts to the engine block below the intake manifold, on the firewall side. GoTech reaches it from underneath. Follow its short lead to the connector bracket near the timing cover.
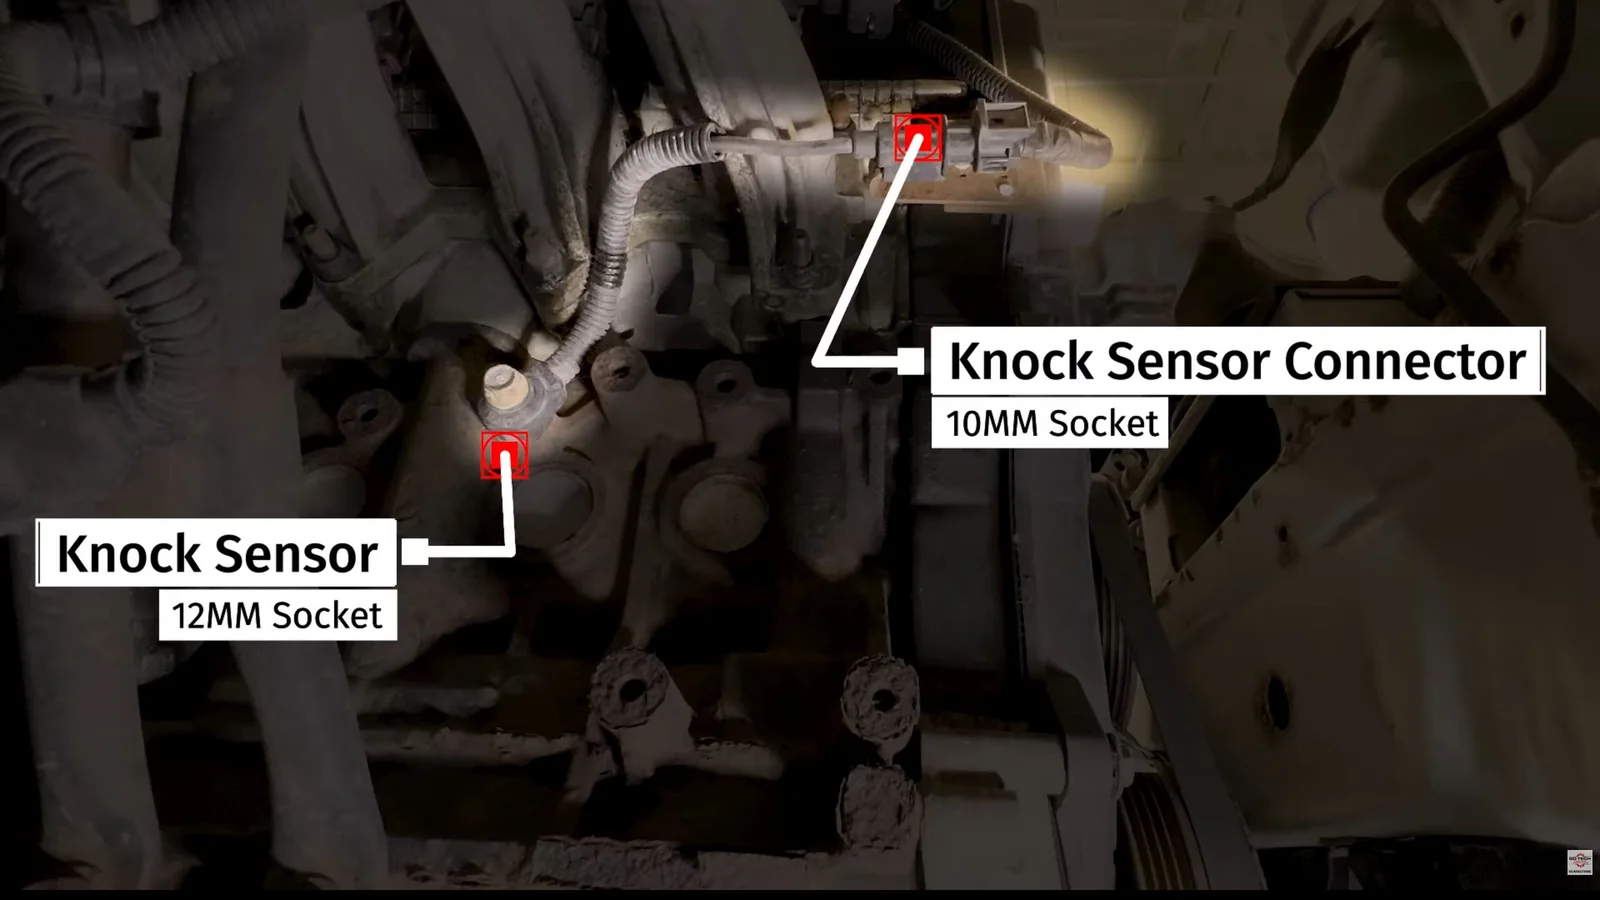
The video shows the access clearly, but working room can vary. This guide does not establish location, parts or torque for 2012-and-newer Rio or Accent models. Watch the location · 0:51
Only have a knock-sensor code? Check before buying
Save the codes and freeze-frame information. Check the sensor connector, terminals, wiring and mounting before condemning the sensor. P0326 is a range/performance code; P0327 and P0328 concern low and high circuit input. A code alone does not prove the sensor is bad.
Follow the circuit tests for your vehicle. The 2008 Accent 1.6L P0327 diagnostic chart includes connector and circuit checks before sensor substitution. There is no universal resistance test on this page.
2009 Rio exception: Kia ENG056 / SA017 calls for knock-sensor replacement on affected 1.6L Rio vehicles built March 3–April 30, 2009 with P0326/P0327. Have Kia check your VIN and repair history; this is not a recall or free-repair promise for every Rio.
Actual engine knocking needs diagnosis of its cause. Replacing the sensor is not a repair for mechanical engine damage.
Choose the genuine OE part
Start with the listing for your make. Have the seller confirm your VIN, engine, connector and bracket arrangement before ordering.
KIA RIO / RIO5 · 2006–2011
39250-26900
Genuine Kia knock sensor. The catalog lists it without the bracket, so inspect the old bracket before buying.
Check Kia fitment →HYUNDAI ACCENT · 2006–2011
39252-26870
Genuine Hyundai knock-sensor / bracket assembly. The catalog lists it as a replacement for 39250-26900; confirm the supplied assembly with the seller.
Check Hyundai fitment →Why are the part numbers different?
The Hyundai catalog lists 39252-26870 as superseding 39250-26900, 39251-26860 and 39252-26860. Kia still lists 39250-26900 as a sensor without a bracket. These are separate catalog choices, not a claim that every assembly is interchangeable. Compare what arrives with the removed part before installation.
Replace the sensor
Tools: 10 mm and 12 mm sockets, ratchet, torque wrench suitable for 12–19 lb-ft, flat-blade screwdriver, and a small file for bracket rust.
Work with the ignition off and the engine cool. For underside access, use the vehicle’s lifting points and rated stands or a suitable lift on firm, level ground. Never work under a vehicle supported only by a jack.
- Unbolt the connector bracket and unplug. Use the 10 mm socket for the bracket bolt. Release the connector latch and separate the connector by its body, not the wires. Removal · 1:05
- Remove the sensor. Note the lead routing, then use the 12 mm socket to remove the sensor’s mounting bolt. Lift the sensor away from the block. Sensor bolt · 1:17
- Transfer the bracket only if needed. For a replacement without a bracket, reuse the old one only if it is sound. Remove rust from its connector-mounting tab so it slides onto the new connector without force. Bracket transfer · 1:26
Bracket rusted onto the old connector?
In the video, Mike breaks the discarded sensor-side connector to free the rusty metal bracket. This is only for the old sensor being replaced—never the vehicle-harness connector or the new part. If the bracket is too damaged to reuse, obtain the correct replacement instead of forcing it.
- Install and torque the sensor. Compare the parts and lead routing, seat the sensor against its mounting surface and start the bolt by hand. The GoTech demonstration specifies 12–19 lb-ft on the sensor bolt. Confirm the specification for your vehicle and use a torque wrench: too tight can damage the sensing element; too loose can produce an unreliable signal. Install · 2:09 · Why torque matters · 2:35
- Secure the lead and reconnect. Refit the connector bracket to the timing cover and fully latch the connector. Keep the lead clear of hot or moving parts. Reconnect · 3:01
Verify the repair
Check the connector latch, bracket and lead routing before lowering the vehicle. After saving the original findings, clear codes as directed by the vehicle’s diagnostic procedure, operate under its specified test conditions and scan again.
No returning fault under the relevant test conditions? Record the result. Clearing the light alone is not verification. If the code returns, return to the connector, circuit and applicable bulletin checks before buying another sensor.
Watch the four-minute replacement
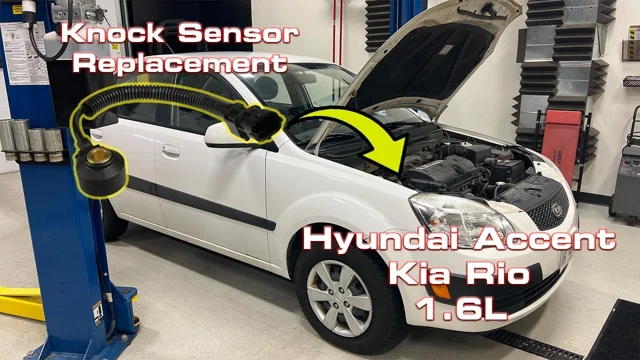
Video loads only when you choose to play.
Sources and vehicle scope
GoTech’s original 2006–2011 Rio / Accent 1.6L demonstration supplies the location, tools, bracket handling and 12–19 lb-ft tightening range. The video and its captions were reviewed for this update. The location still is from that demonstration, with its original annotations retained.
- Kia 39250-26900 and Hyundai 39252-26870: genuine-parts retailer catalogs checked November 4, 2026. These confirm catalog identity and supersession, not fitment for an individual VIN.
- Kia ENG056 / SA017, January 2010: only the specified 2009 Rio production range and P0326/P0327 concern. Its service-action part number is 39250-26900QQK; confirm any current replacement through Kia.
- 2008 Hyundai Accent 1.6L P0327 procedure: public service-manual mirror supporting connector/circuit diagnosis and post-repair verification.
GoTech’s preparation, reading order and repair-check summary combine the demonstration with diagnostic guidance. They do not document a newly completed repair or establish a procedure for later engines. The tightening range above remains attributed to the original video; confirm the applicable vehicle specification before installation.